Interactive session on Viking
Viking supports virtual Linux desktop sessions, allowing you to work on Viking in a fully graphical environment. A particularly useful facility that this provides is the ability to run graphical applications (e.g. MATLAB) on the Viking compute nodes through an interactive session. Details about how to create a virtual desktop session and connect to it follow.
N.B Please remember to clean up your sessions once you have completed your work. Instructions on how to do this are described here.
Session creation
The first thing you need to do is create a virtual desktop session to connect to:
- Connect to Viking through a terminal - see instructions above if you don't know how to do this
Run the following command in your Viking terminal session:
Creating a virtual desktop session on Vikingalces session start gnome
That's it! If your virtual desktop session creation was successful, you will see details comparable with the following:
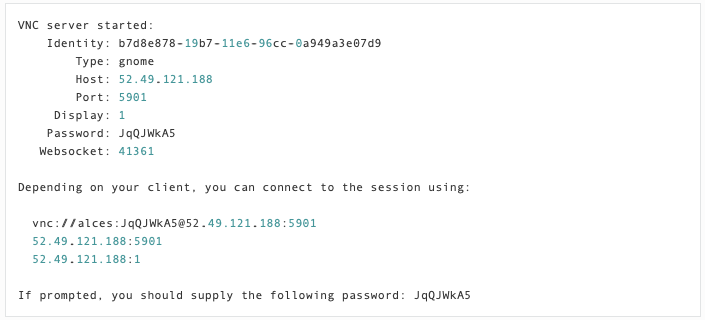
The important details to note are the host, in this case 52.49.121.188, the port, in this case 5901, and the password, in this case JqQJWkA5. You will need this detail in order to connect to the virtual desktop session that you have started.
If you lose the information above at any time, you can find it by running the command:
alces session list
Connecting to the virtual desktop session
There are many different clients you can use to connect to a virtual desktop session on Viking. Suggestions for Windows, Linux, and MacOS are made below.
Windows
For Windows, you can use the program 'TightVNC'. You can download TightVNC from the TightVNC downloads page. When installing, we recommend choosing a custom installation type and installing only the 'TightVNC Viewer' component, as this is all you will need to connect to a remote desktop session on Viking.
- Open TightVNC Viewer
- Enter host:port into the 'Remote Host' text box, as recorded in 'Session creation':
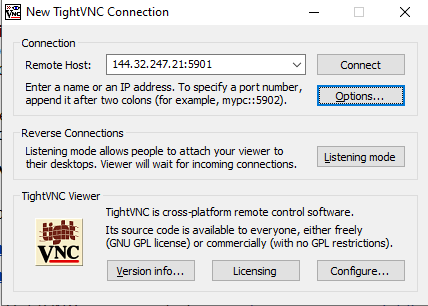
- Click 'Connect'
- When prompted, enter the password recorded in 'Session creation':
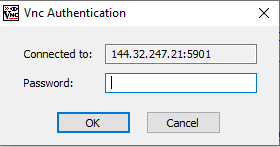
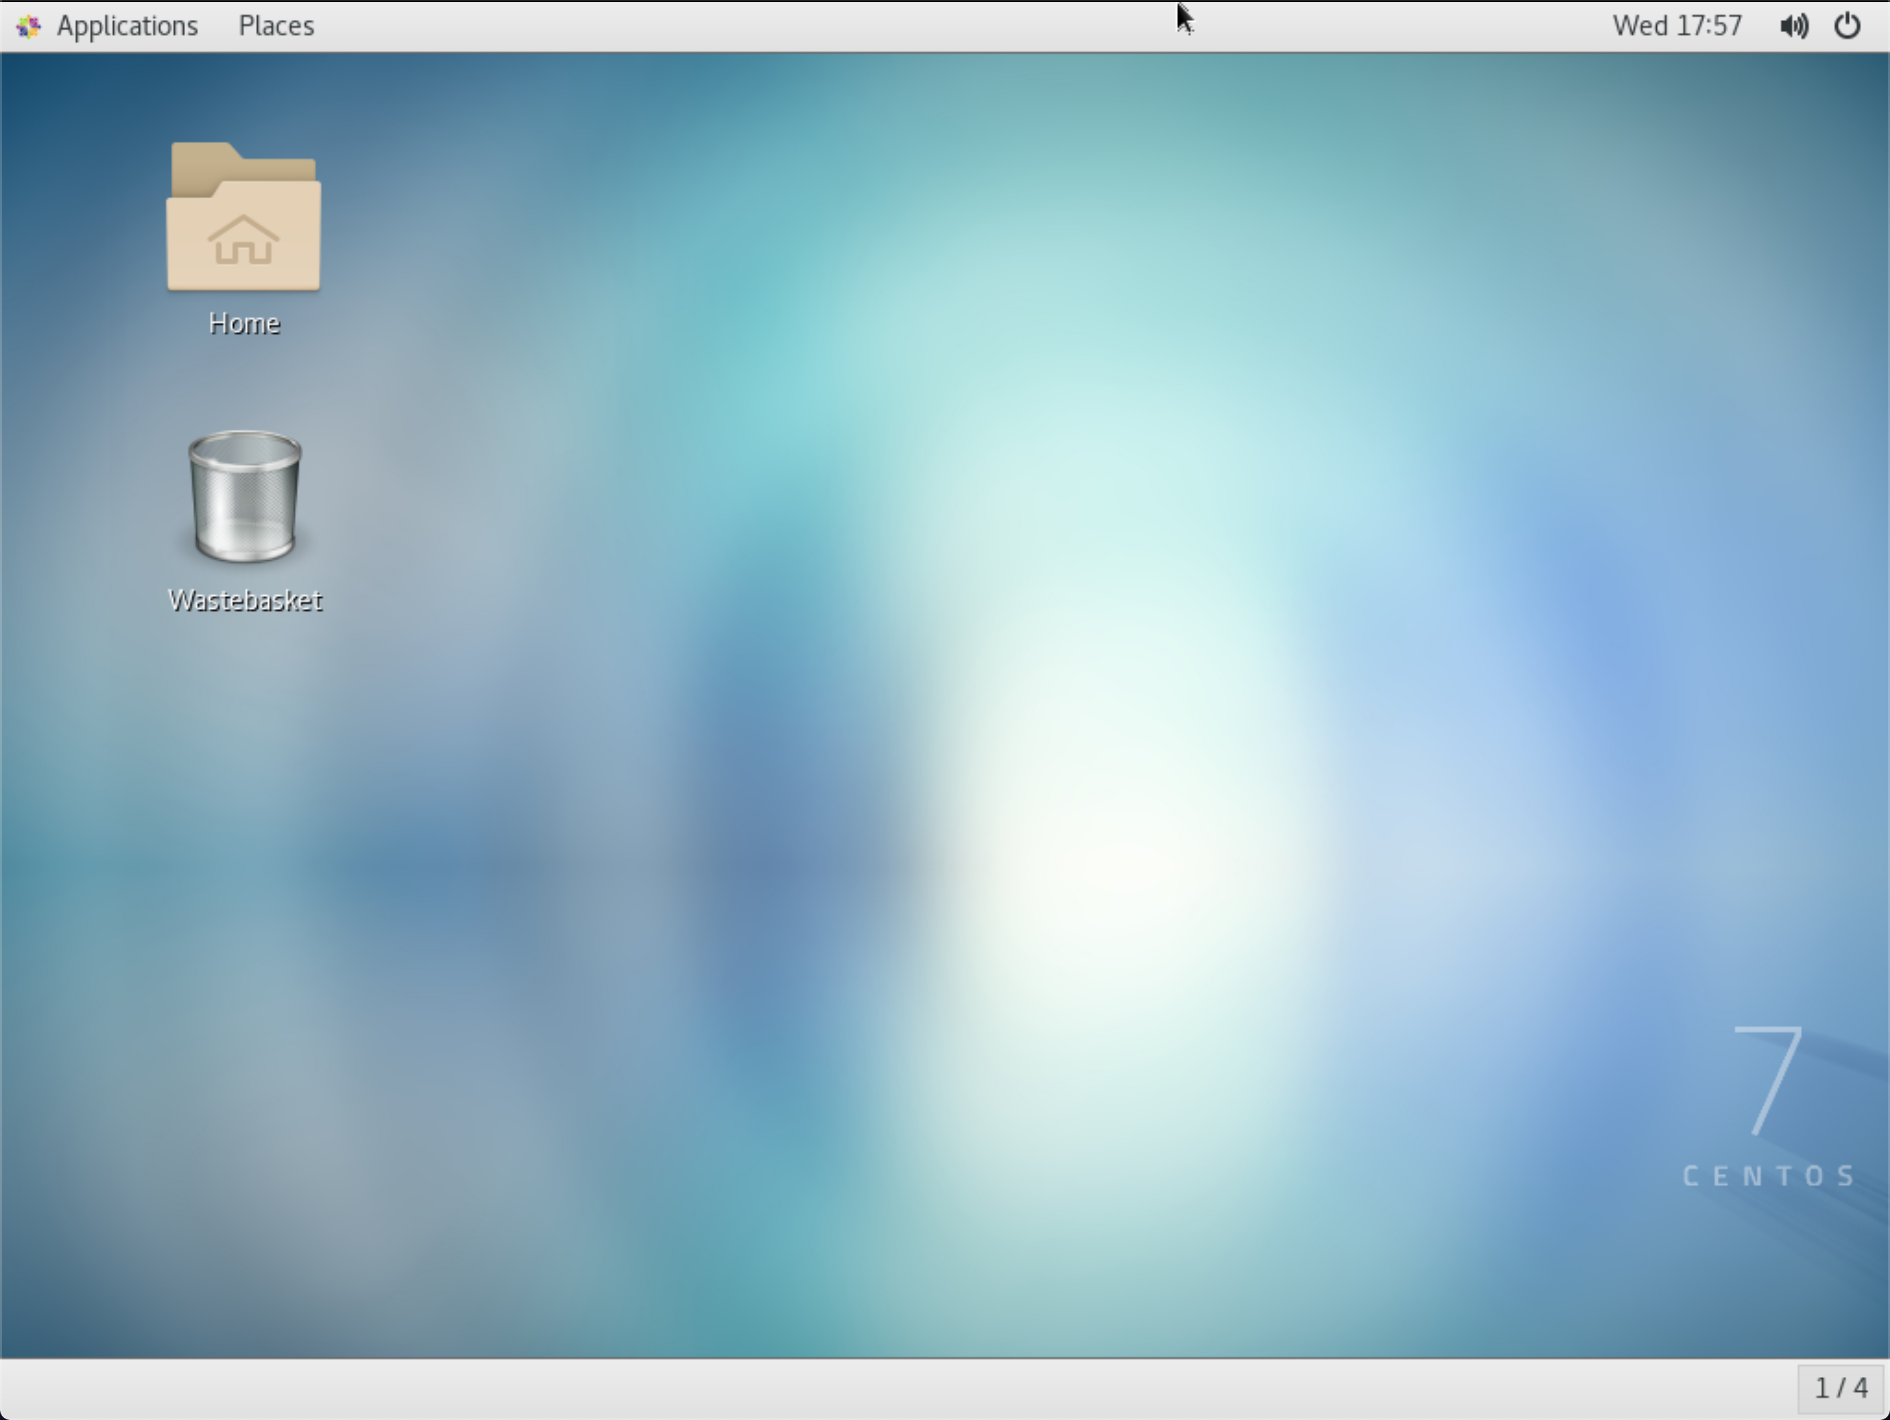
- After entering the password correctly, you will be presented with a virtual desktop session on Viking:
Linux
For Linux, we recommend using the program 'Remmina'. Installation instructions for Remmina can be found here.
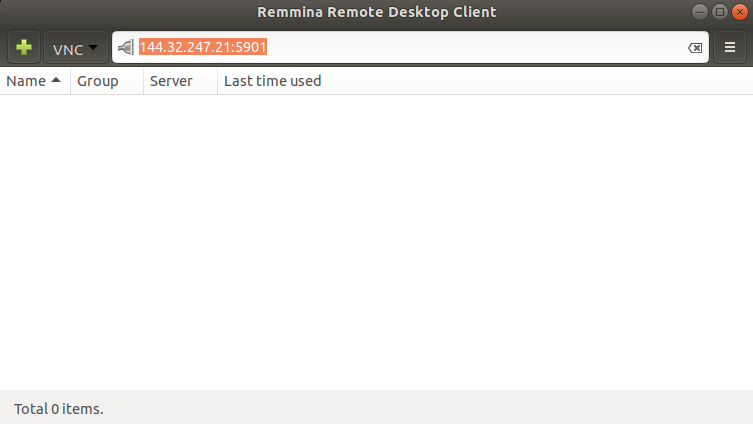
- Open Remmina
- Select 'VNC' from the drop-down menu next to the address bar, and enter 'host:port' into the address bar, as recorded in 'Session creation':
- Press enter, and you should be prompted for a 'VNC password'. This is the password recorded in 'Session creation':

- Enter the password and click 'OK'
- You should be presented with a virtual desktop session Viking:
You may need to change the connection quality settings in Remmina, as the default seems to be the lowest available!
MacOS
MacOS ships with a VNC client, which can be easily used through Finder.
- In Finder, select 'Go > Connect to server'. You should be presented with a window allowing you to specify a server address:
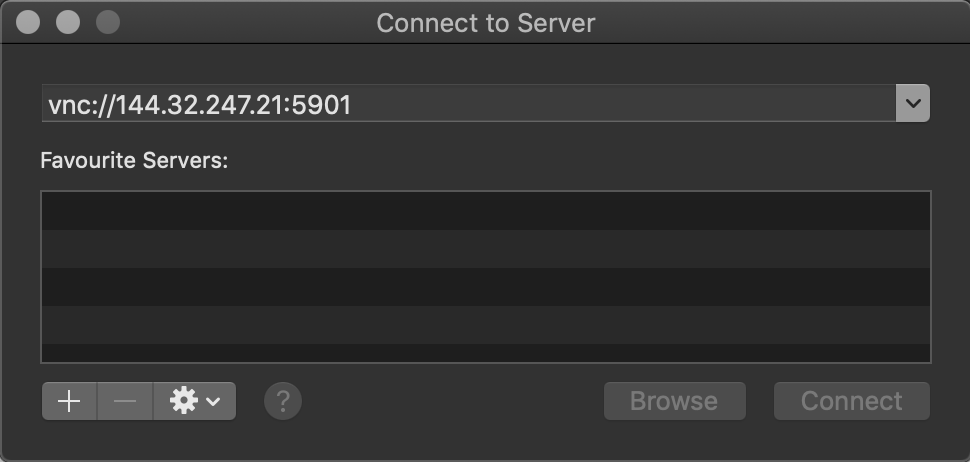
- In the address bar, enter 'vnc://host:port', as recorded in 'Session creation'. You can see an example of this in the above image
- Click 'Connect'
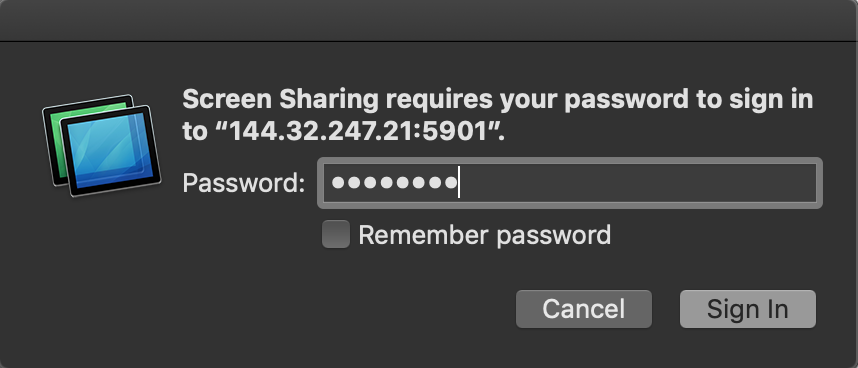
- You will be prompted for the password that was recorded in 'Session creation', as below:
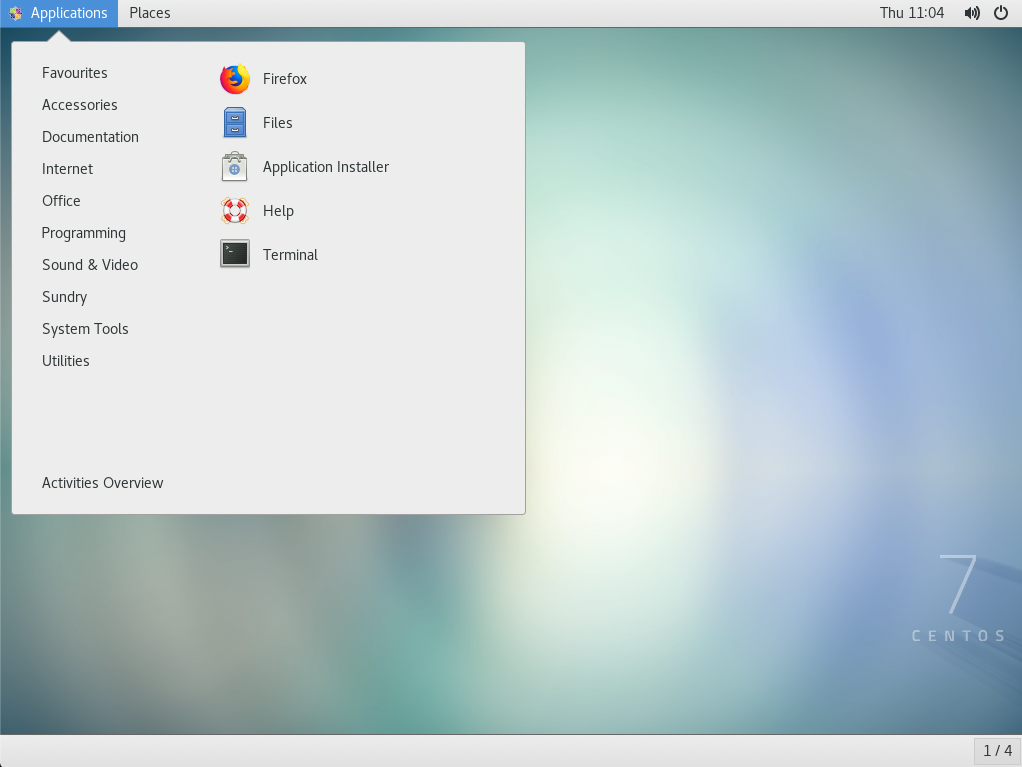
- Once you have correctly entered the password, you will be presented with a virtual desktop session on Viking:
Using the Viking virtual desktop session
The Viking virtual desktop session can be used like any other Linux desktop session. For those of you who are unfamiliar with using a Linux desktop, a brief overview of the desktop envrionment available on Viking, Gnome 3, can be found here. Most importantly, if you open the 'Terminal' application, you can use Viking in the same way as you are used to using it, with the added ability to run graphical applications seamlessly on the compute nodes. An example of this follows:
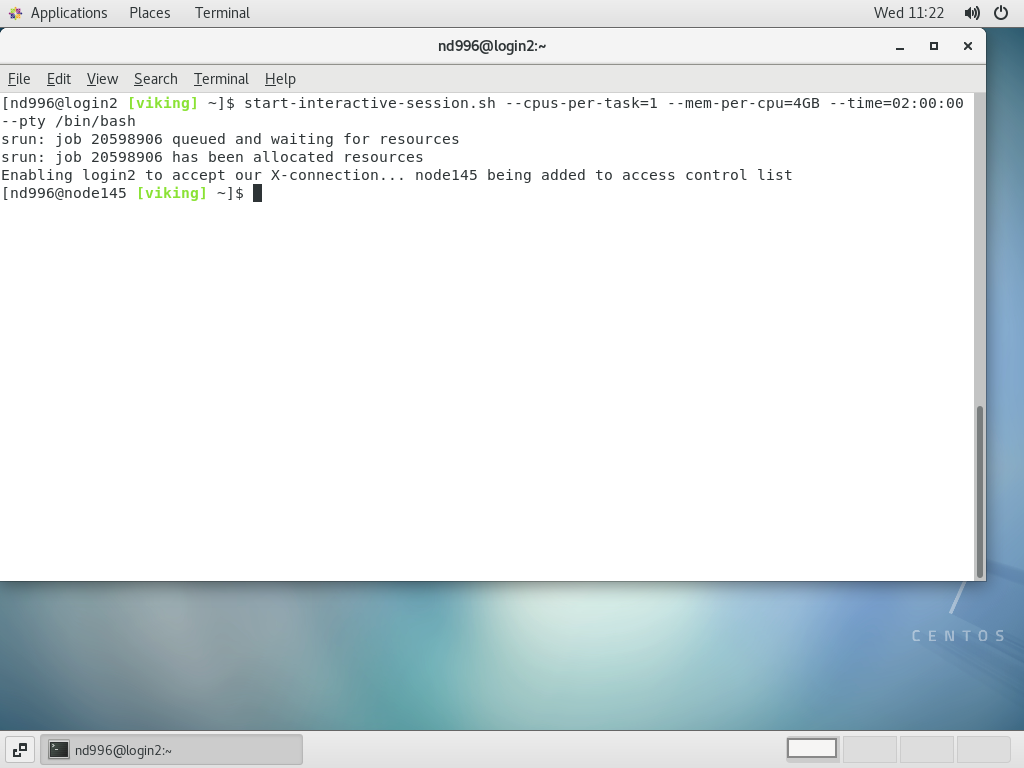
- Open the 'Terminal' application from 'Applications → System Tools → Terminal':
- In the terminal, run the command 'start-interactive-session.sh`. This command takes the same parameters as the `srun` command used to run interactive jobs in a Viking terminal session. For more information on these parameters, see our documentation on submitting jobs to Viking. In the example below, I have requested an interactive session with 1 core and 4GB of memory for 2 hours.
- Load the module(s) needed to run the application that you would like to use, and run the application. In the example below, I have loaded the `math/MATLAB/2018a` module, and run `matlab`:
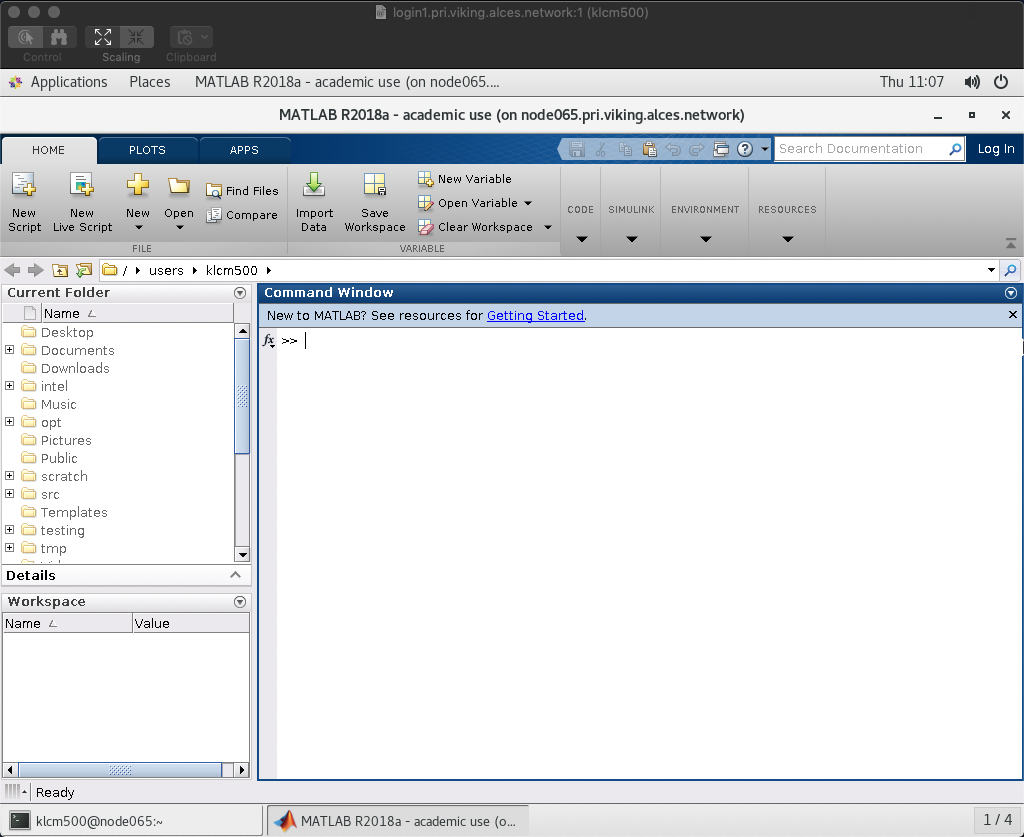
- MATLAB is now running on the Viking compute node `node065`!
Please note that the usual resource limitations apply to jobs run interactively, which can be found in our documentation about partitions and their limits. When you are finished working interactively, be sure to exit your interactive session by running `exit` in the terminal.
Interactive partition
There are a number of partitions available on Viking but the interactive partition has been designed with the virtual desktops in mind. A user can use 1 core and 8 GB of memory at any one time and we have dedicated an entire node to this partition. It should allow a user to check results visually without having to wait in the Slurm queue or copy data elsewhere. If you need more resource you can just submit your job to the other available partitions.
If you find that you have been disconnected from Viking whilst you have an interactive job running, you should be able to get back to it using the `sattach` command as follows:
[abc123@login1(viking) ~] sattach JOBID.0
where JOBID is the ID of your running interactive job.
Ending the Viking virtual desktop session
After disconnecting from the virtual desktop in the client software, the virtual desktop session will still be running on Viking. In order to properly end the session, you will need to terminate the session on Viking as follows:
Run the command 'alces session list', taking note of the Identity of your session
Run the command 'alces session kill Identity', e.g 'alces session kill a930639c'